Coconut Custard Cups (Gluten Free & Vegetarian)
This weekend's dessert is the gluten free coconut custard cups. In this recipe, we discuss how we came up with the idea for this GF dessert, what is it and how we prepared it. A delicious dessert with no artificial flavors, no preservatives
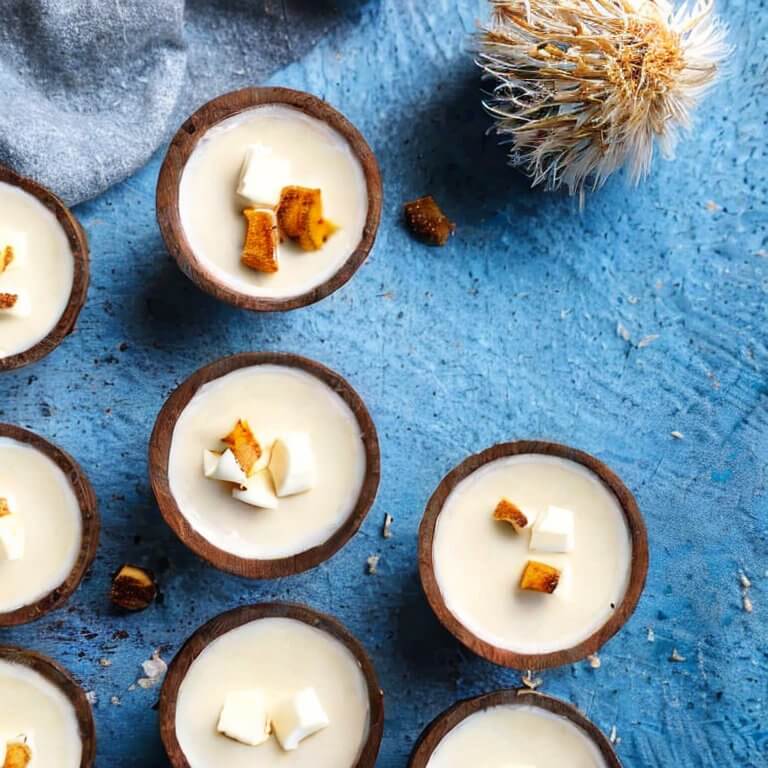
Coconut custard cups are a small, no-fuss gluten-free dessert. The base is coconut milk, eggs, and sugar — naturally gluten-free, gently set in a water bath until silky.
They work as a make-ahead dessert (better the next day) and travel well in their ramekins. The flavour is coconut-forward, not overly sweet, and pairs with fresh fruit or a thin layer of caramel on top.
Recipe
Gluten Free Coconut Custard Cups Recipe
A delicious dessert with no artificial flavors! If you make it with fresh coconut milk, this dessert will bring the true taste of coconut to your mouth. In addition, it's gluten-free and naturally vegetarian.
Ingredients
Dessert
- 1 lt milk (optional: coconut milk)
- 1 cup ( 200 g ) sugar (granulated)
- 1 cup ( 136 g ) gluten free flour
- 1 tbsp butter
- 1 pack vanilla
Method
- Put the milk, flour, and sugar in a pot, stir, and heat up to make the custard.
- Cook until the custard thickens while constantly stirring.
- Once the custard has finished cooking, turn the stove off.
- The custard should now have butter and vanilla added.
- Let's combine everything until the butter melts and is smooth.
- Fill the barely wet cups with our ready-made custard. (It's important to move quickly at this point since the custard will thicken as it cools.)
- Allow it to stand until it reaches room temperature after you've filled each cup.
- After that, put our sweets in the fridge and give them three hours to chill.
- After 3 hours, take our desserts that have been cooled, flip them over, and remove them from the cups. The dessert will simply come out of the cup when we carefully remove the air from the sides.
- You can add your coconut pieces and nuts as you wish. Enjoy!
Nutrition (per serving)318 kcal· 1 serving
Estimated. Numbers come from the original recipe and may not be exact.
Why this coconut custard works
Coconut milk gives the custard its body and flavour, replacing the heavy cream of a classic crème caramel. The eggs provide structure; sugar tempers them so they set smoothly, not scrambled.
A water bath (bain-marie) cooks the custards at a gentle, even heat. Without it, the edges firm up and the centres stay soupy — or worse, the eggs cook too fast and the texture breaks.
Ingredient notes
Coconut milk: use full-fat tinned coconut milk, not light. Light coconut milk produces a thin, watery custard. Stir the tin well — the fat often separates.
Eggs: whole eggs give a soft set; egg yolks alone give a richer, silkier texture. The recipe card calls for the right balance.
Sugar: caster sugar dissolves cleanly into the warm milk. Brown sugar adds caramel notes; use sparingly so the colour doesn't overwhelm.
Vanilla: a scraped vanilla pod or 1 tsp pure vanilla extract. Check the label for any flavourings if a gluten-free product is needed.
How to make coconut custard cups (in short)
Warm the coconut milk with vanilla. Whisk the eggs and sugar together, then slowly pour the warm milk in while whisking (tempering). Strain into ramekins. Place ramekins in a deep tray, fill the tray with hot water halfway up the ramekins, and bake at 160°C / 325°F for 35–40 minutes until just set with a slight wobble in the centre.
See the recipe card above for full measurements and step-by-step instructions.
Tips for a silky custard
Temper the eggs slowly: hot milk poured in fast scrambles them. Pour a thin stream while whisking constantly.
Strain before baking: a fine sieve catches any cooked egg threads or vanilla bits, giving a smoother top.
Water bath at the right depth: the water should come halfway up the side of each ramekin. Too shallow and the bath doesn't do its job; too deep and water can splash in.
Check at 35 minutes: the centres should jiggle slightly when nudged — they'll set further as they cool.
Chill before serving: at least 2 hours, preferably overnight. The flavour and texture both improve.
Troubleshooting
Custard split or grainy: the eggs cooked too fast. Lower the oven temperature, check the water bath depth, and temper more slowly next time.
Custard too soft / runny: under-baked. Return to the oven for another 5 minutes; if it firms up after cooling, that's normal.
Custard too firm: over-baked. The mixture continues to set as it cools — pull from the oven while the centres still wobble.
Skin on top: covering the ramekins with foil during baking prevents this if you want a glassy top.
How to store
Fridge: covered with cling film, up to 3 days. Bring up to room temperature for 15–20 minutes before serving.
Freezer: not recommended — the texture changes when thawed.
Make-ahead: coconut custard is at its best after a night in the fridge. Make a day ahead.
More gluten-free desserts
For more gluten-free desserts, browse our desserts library, or try our gluten-free macarons for a more involved bake. For everyday baking notes, see gluten-free baking.
FAQ
Frequently asked questions
Are coconut custard cups gluten-free?
Yes — this recipe uses egg, coconut milk, and sugar, all naturally gluten-free. If you serve them with biscuit, check the biscuit label for gluten.
Why did my custard split or curdle?
Custard splits when the eggs cook too fast. Whisk the hot milk into the eggs slowly (tempering), and bake in a water bath so the custard cooks at a gentle, even heat.
How long do coconut custard cups keep?
In the fridge, covered, 3 days. Bring them up to room temperature for 15 minutes before serving so the flavour comes through.
Can I make these dairy-free?
Yes — this recipe already uses coconut milk. Make sure your sugar and any extras (vanilla, etc.) are dairy-free certified if you need it.